How to Insulate Your Loft for a Conversion

When planning a loft conversion, insulation is one of the most critical steps to get right. Proper insulation ensures your new space is comfortable year-round, energy-efficient, and compliant with building regulations. Neglecting this aspect can lead to higher energy bills, damp issues, and an unpleasant living environment.
This guide will walk you through the key considerations, types of insulation, and steps to properly insulate your loft for a conversion.
Why Insulating Your Loft Conversion is Essential
Insulation does more than keep the cold out; it plays a pivotal role in making your loft conversion functional and energy-efficient:
- Comfort: Keeps the space warm in winter and cool in summer.
- Energy Savings: Reduces heat loss, cutting energy bills significantly.
- Building Regulations Compliance: Proper insulation is mandatory for all loft conversions in the UK.
- Soundproofing: Helps minimise noise from outside and within your home.
Building Regulations for Loft Conversion Insulation
Before you start insulating your loft, it’s essential to understand building regulations. The UK requires:
- U-Value Standards: The U-value measures how well a material retains heat. For loft conversions, walls, roofs, and floors must meet specific U-values (e.g., 0.18 W/m²K for pitched roofs).
- Ventilation: Insulation must allow for adequate airflow to prevent dampness and condensation.
- Fire Safety: Insulating materials need to meet fire resistance standards for safety.
Hiring a professional ensures these regulations are met without compromising on quality.
Types of Insulation for Loft Conversions
Choosing the right insulation depends on your budget, space, and thermal requirements. Here are the most common options:
1. Pitched Roof Insulation (Between and Over Rafters)
- Description: Insulation fitted between and on top of the roof rafters.
- Benefits: Maintains headroom, highly effective for thermal efficiency.
- Best For: Pitched roofs where maximising internal space is essential.
2. Rigid Foam Boards (PIR or EPS)
- Description: Pre-cut boards that fit snugly between rafters and joists.
- Benefits: Excellent thermal performance, lightweight, and easy to install.
- Best For: Both pitched and flat roofs.
3. Roll-Out Insulation (Mineral Wool or Fibreglass)
- Description: Flexible rolls laid between joists or rafters.
- Benefits: Cost-effective, widely available, and good for soundproofing.
- Best For: Floor and wall insulation.
4. Spray Foam Insulation
- Description: A liquid that expands to fill gaps.
- Benefits: Perfect for irregular spaces and offers strong airtightness.
- Best For: Hard-to-reach or unconventional loft spaces.
5. Natural Insulation Materials
- Examples: Sheep’s wool, hemp, or recycled fibres.
- Benefits: Eco-friendly, breathable, and sustainable.
- Best For: Homes seeking green building solutions.
Steps to Insulate Your Loft for a Conversion
Follow these steps to properly insulate your loft conversion:
1. Assess the Space
Evaluate your loft's current state, including its size, shape, and ventilation. This helps determine the type and quantity of insulation required.
2. Choose the Right Materials
Consider your budget, desired thermal performance, and any space constraints when selecting insulation materials.
3. Install Between Rafters
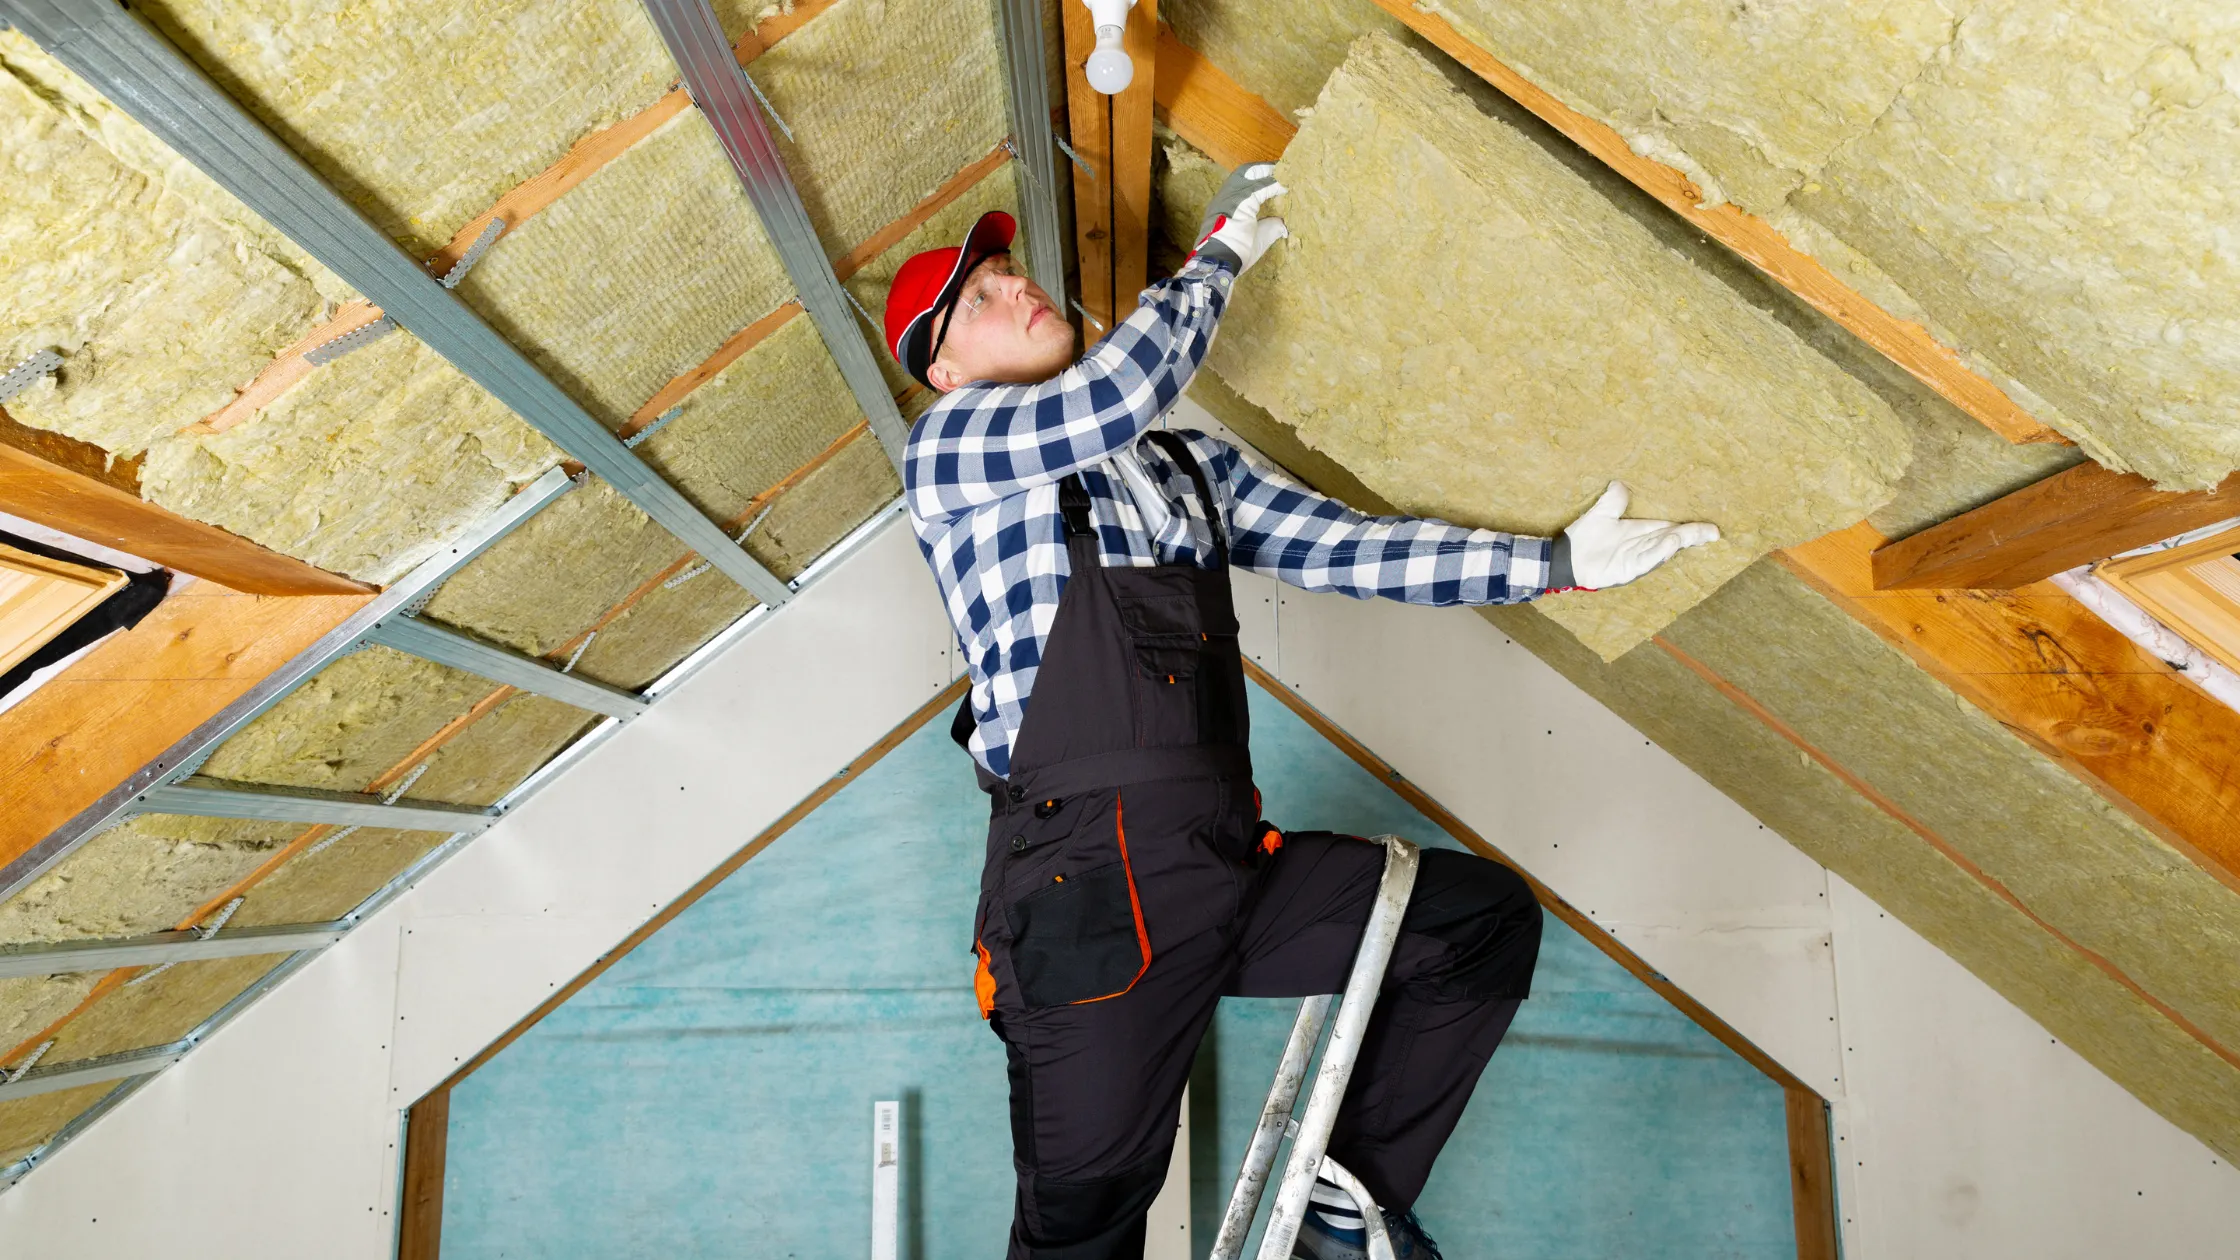
Place insulation between the rafters, ensuring a snug fit to minimise gaps where heat can escape. For improved efficiency, add an additional layer over the rafters.
4. Insulate Walls and Floors
Use roll-out insulation or rigid boards for walls and floors. Pay special attention to corners and junctions to prevent thermal bridging.
5. Add Vapour Barriers
Vapour barriers prevent moisture build-up and dampness, essential for protecting your insulation and structural elements.
6. Seal Gaps
Use airtight tapes or sealants to close any gaps around the insulation, ensuring maximum thermal efficiency.
7. Check Ventilation
Install ventilation points to maintain airflow and prevent condensation from forming.
Tips for Loft Insulation Success
- Hire Professionals: While DIY insulation may seem tempting, professionals ensure compliance with regulations and avoid costly mistakes.
- Don’t Skimp on Materials: High-quality insulation pays off in comfort and energy savings over time.
- Focus on Soundproofing: Particularly important if your loft conversion will be a bedroom or office.
- Plan for Future Access: Leave space to access electrical wiring or plumbing behind the insulation.
The Benefits of Proper Loft Insulation
Investing in the right insulation makes a noticeable difference in the performance of your loft conversion. Key benefits include:
- Year-Round Comfort: Stable indoor temperatures regardless of the weather.
- Energy Efficiency: Lower heating and cooling costs.
- Environmental Impact: Reduced carbon footprint by improving your home’s energy performance.
- Longevity: Prevents moisture damage and extends the lifespan of your loft conversion.
Conclusion
Proper insulation is the backbone of any successful loft conversion. It ensures your new space is not only comfortable but also cost-effective and environmentally friendly. By carefully selecting materials, adhering to building regulations, and focusing on ventilation, you can create a functional and cosy loft that meets your family’s needs.
Ready to insulate your loft for a conversion? Start planning today and enjoy the benefits of a warm, energy-efficient, and beautifully transformed space.
